RV Dump Station Basics
It doesn’t matter if you’re new to RVing or a veteran. Using an RV dump station can induce anxiety. The good news is that dumping your tanks doesn’t have to be a nightmare. Today we’ll help prepare you for the next time you have to use an RV dump station.
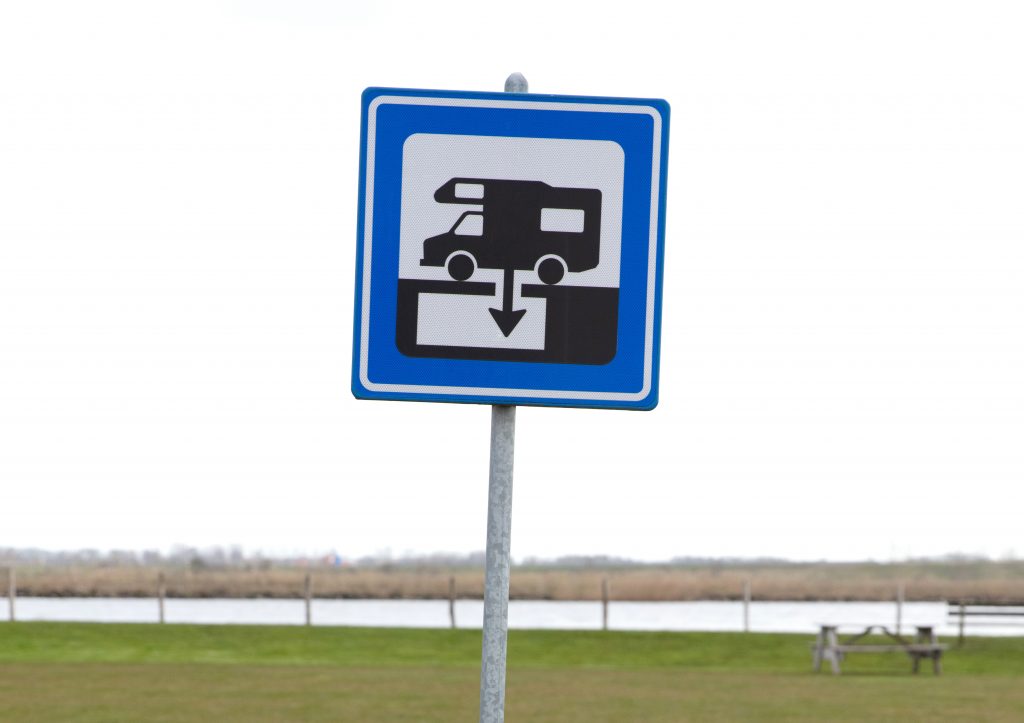
 What Is an RV Dump Station?

An RV dump station allows RVers to empty their wastewater tanks quickly and efficiently. Campgrounds, truck stops, and some interstate rest stops are all places you might spot an RV dump station.
A hose and varying attachments connect the RV sewer drain to the dump station sewer receptacle. These stations often provide non-potable water to assist with rinsing tanks, cleaning hoses or attachments, and cleaning up any potential spills that may occur.
Supplies Needed to Use an RV Dump Station
You’re going to need a few key RV sewer supplies to ensure a smooth time at an RV dump station. One of the most critical items you’ll need when using an RV dump station is an RV sewer hose. These hoses come in varying lengths and materials. The materials used will affect the flexibility of the sewer hose.
Equally as important is having the appropriate sewer hose attachments. These attachments connect to the ends of a sewer hose. A 4-in-1 adapter is an attachment that helps ensure your sewer hose securely fits the dump station sewer connection. Another standard attachment is a clear elbow that allows the user to confirm their tanks are finished emptying or are clean if rinsing.
You’ll also want to come prepared with a pair of disposable gloves. It’s worth keeping a box of these gloves in a location that’s easily accessible when dumping your tanks. These gloves prevent spills from making contact with your skin.
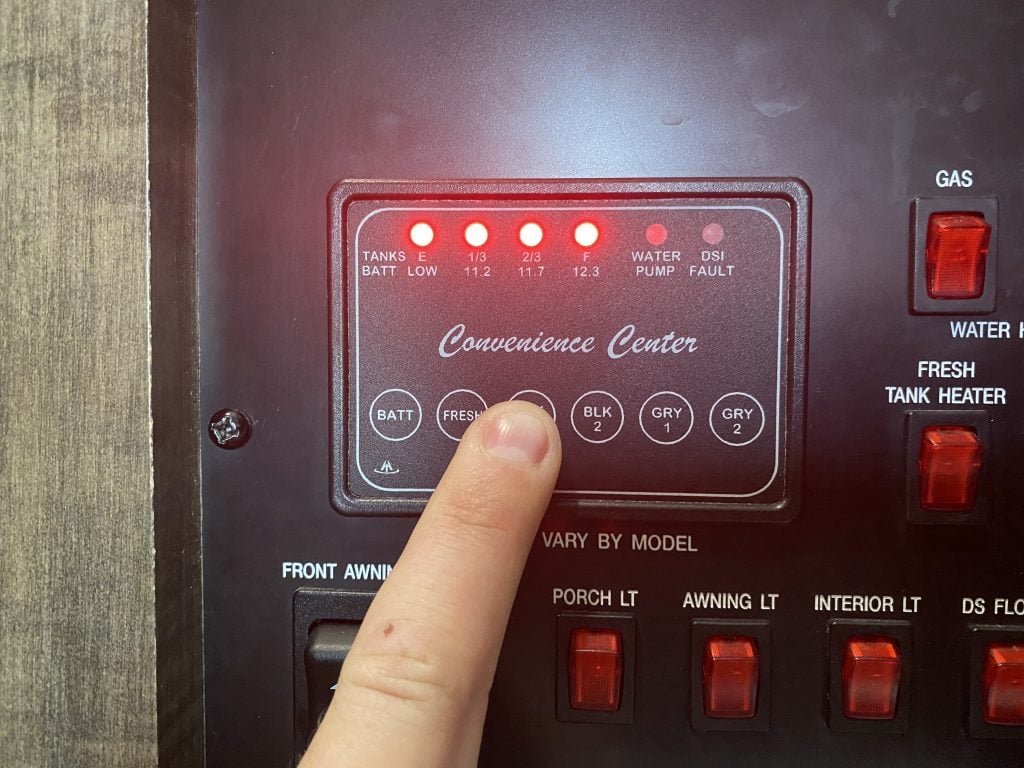
How Often Should You Dump Your RV?
How often you dump your RV wastewater tanks depends on how you’re using your RV. RVers who use their RVs for weekend trips will want to dump after every use. RVers who travel full-time in their RVs will want to dump their tanks as needed.
Towing your RV with full tanks will most definitely affect your fuel mileage as it adds a considerable amount of weight. If you’re staying in a campground, it’s often wise to use the campground’s dump station, if available, before leaving.
How to Use the RV Dump Station
Keep in mind that it’s essential to take your time when using an RV dump station. Accidents happen when you rush. Let’s take a detailed look at the steps.
Lining Up to the Dump Station
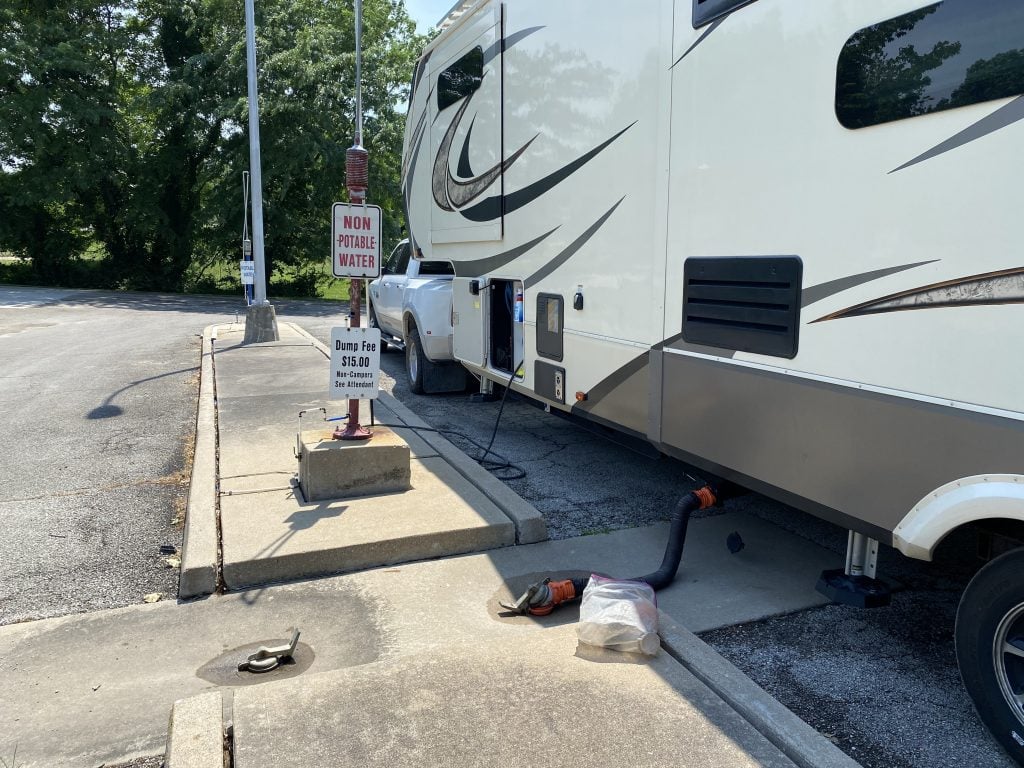
It’s often wise to note the placement of your RV’s sewer dump connection when pulling up to the station. Knowing its location can make lining up easier. Pull close enough to the dump station sewer connection so that you have enough sewer hose to connect your RV to the dump station.
If you didn’t note the location of your RV’s sewer dump connection, you might need to pull forward or back up for your sewer hose to reach the connection.
Connecting Your Sewer Hose and Attachments
After gathering your sewer hose and attachments, verify that your wastewater valves are closed. Removing a sewer cap with valves open will teach you a hard and smelly lesson in RVing. Save yourself and your nose the trouble and check the valves before proceeding.
Once you ensure the valves are closed, connect the sewer hose with the 4-in-1 adapter to the dump station sewer connection. You can now remove the sewer cap and attach your hose to the RV sewer connection. Inspect all connections to prevent any leaks or spillage.
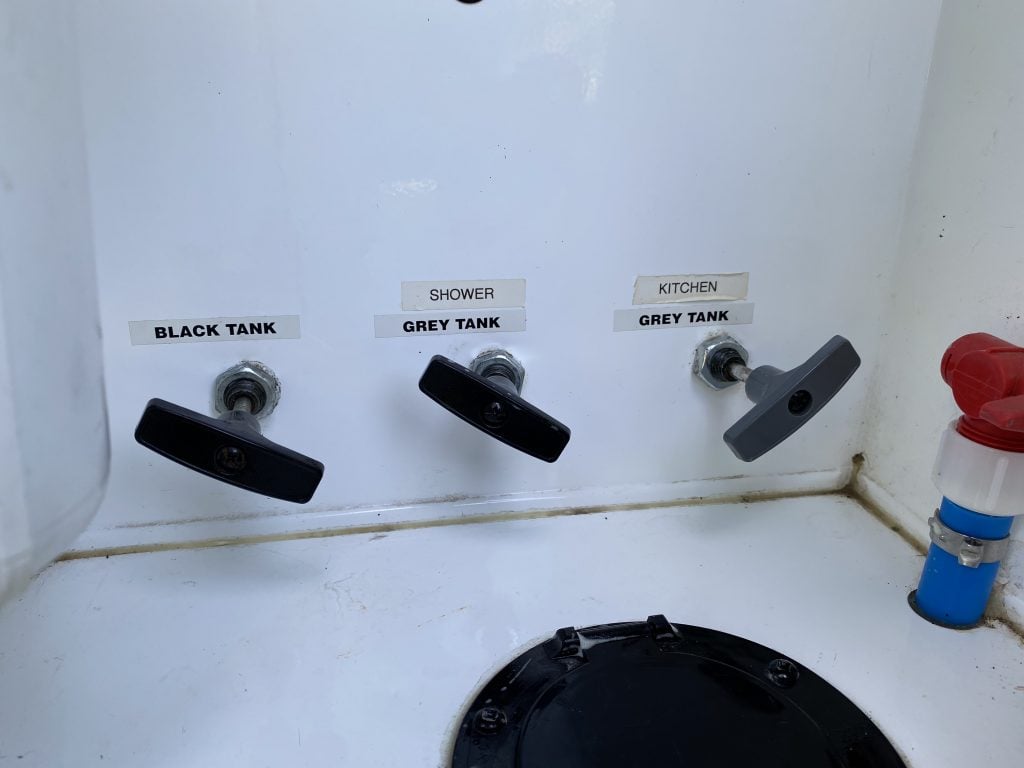
Which Tank to Dump First
Once all connections are secure, you’ll want to dump the black tank first. Once your black tank has finished emptying, you’ll want to empty your gray tank. It’s important to empty your tanks in this order to help rinse any potential sewage remnants out of your hose.
The large gush of water from the gray tanks will help flush out any materials left behind from the black tank. You most definitely don’t want to store a hose that hasn’t been thoroughly rinsed after emptying your black tank.
Opening Gate Valve and Dumping Your Tanks
You may notice a large rock or brick at many RV dump stations. These objects serve as weights to keep your sewer hose securely connected to the dump station drain. A loose sewer hose could fly all over the place, making a huge mess. You’ll most likely ruin the day of anyone within smelling distance.
Flushing Your Tanks
Flushing your tanks is a great way to prevent your tanks from smelling. The best way to do this is by utilizing the black tank flush, if available on your RV. You can connect a hose to the non-potable water connection and connect it to your RV. Open your black tank valve and turn on the water. This will spray water into the black tank and knock down any material that’s left behind.
It’s also beneficial to close the black tank valve and fill the tank as close to capacity as possible with water. Open the valve and repeat until the water is clear when dumping the tank. If your RV isn’t equipped with a tank flushing connection, letting the water run from the toilet or sink will fill the tank. You can then pull the correct dump valve before the tank reaches capacity.
Clean Up and Put Away
Be sure to clean up your hoses and store them away correctly. Make sure you’re securely latching any doors or bays when putting equipment away. You’ll also want to use the non-potable hose at the dump station to clean up any messes. You wouldn’t appreciate a messy site, and neither will the person who uses the dump station after you.
We hope these tips help prepare you for the next time you have to use an RV dump station. The more you can dump your RV tanks, the easier it will become. Do you have an RV dump station story you’d share with other RVers?

Leave a Reply