Bumper stickers and RVs go together like peas in a pod. There are a million different ways to say and show that you’ve been there, done that and got the t-shirt:
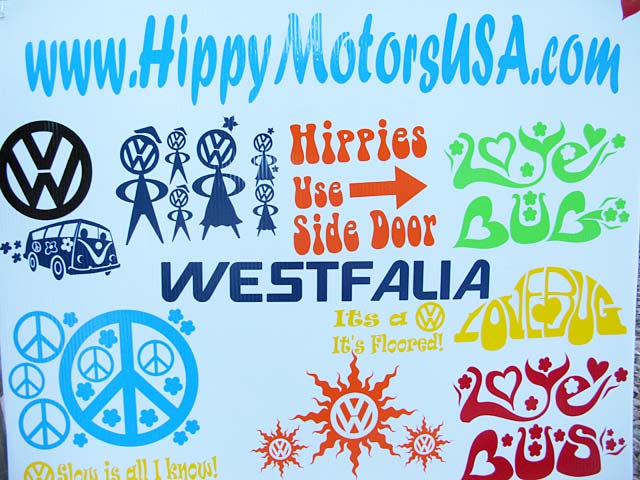
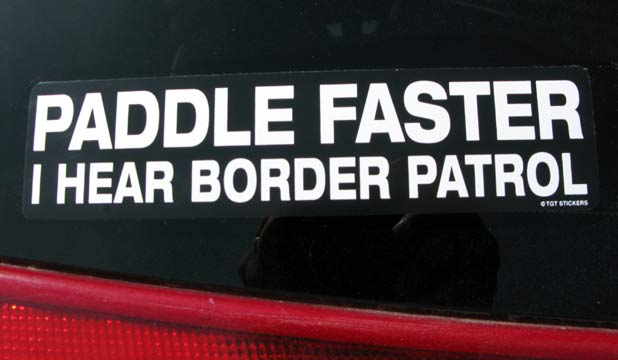
There’s no shortage of funny slogans to slap on the back of your RV:
But what happens when it’s time to sell or trade in your RV and you have bumper stickers all over the back? Many RVers looking to buy a used rig don’t care about old stickers, but a lot of neat freaks like me do. You can try removing the stickers for maximum resale value, but inevitably once you manage to peel, chip or scratch them off, you will see a shadow outline. This is a process called “ghosting.”

Vinyl lettering ghosting happens when you apply a bumper sticker to a fiberglass or metal surface. Since many new vinyl bumper stickers are made with UV-resistant materials, these decals will often look great for years. However in the meantime the area around the bumper stickers will get beaten down by the sun. Every day that your RV is exposed to ultraviolet rays the surface of your rig will oxidize and dull – but beneath the sticker, nothing will change. Even if you religiously wash, wax and polish your RV, the ghosting process continues. The longer you leave a sticker on your rig, the worse it gets.
You might wonder if leaving your RV stickers on the rig is a better idea so someone else can deal with the problem, but in order to get the most money from your pending sale, you can follow these simple instructions to equalize the discoloration between the bumper stickers and the old fiberglass or metal surface underneath them.
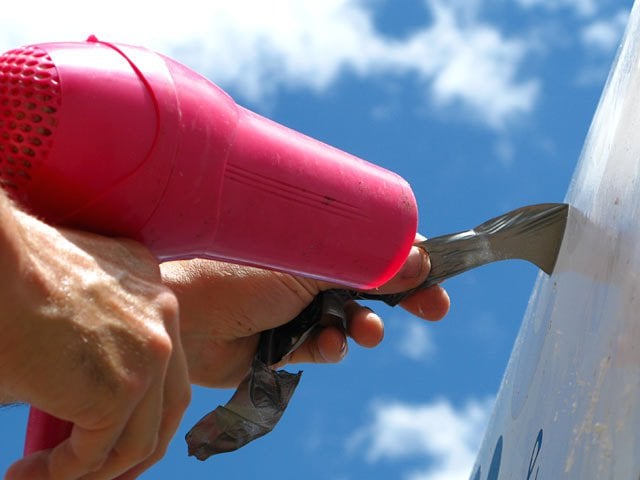
Step 1: Use heat to get rid of bumper stickers
Grab a hair dryer and one edge of a hard plastic squeegee and when the heat is applied to the sticker, you can usually remove them without much elbow grease. Just lift one corner, aim the dryer a few inches above the sticker and peel. If you have a drill and you want to get this project done quickly, you can mount a “vinyl eraser” rubber wheel attachment for even faster, easier removal.
Step 2: Apply an adhesive remover
Bumper stickers that get peeled up usually leave their adhesive behind. One way to get rid of it quickly is to use a product called “Rapid Remover.” This adhesive remover is safe for fiberglass and metal surfaces and although it took some physical strength to work it on and get it off, in just a few minutes the job was done.
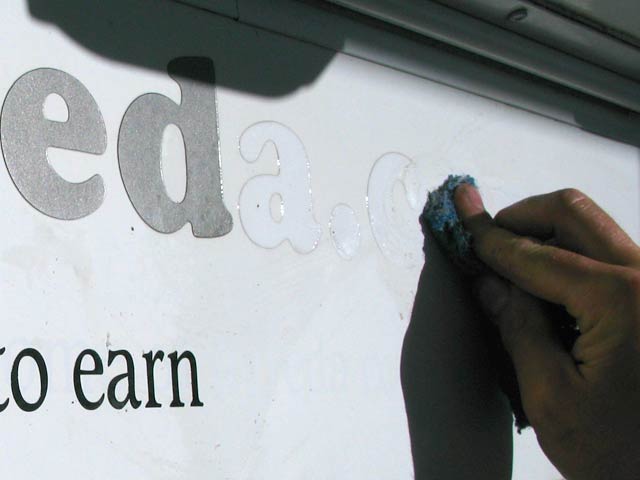
Step 3: Get rid of oxidation
Removing oxidation on your RV is the most time consuming of the entire vinyl sticker removal process. First you wash your rig, then you scrub it with a product called “Ghost Away Oxidation Remover.” This enables you to get rid of oxidation from the exposed areas around the vinyl stickers and will fade the yellow oxidation so it blends more easily with the non-oxidized surface underneath the stickers.
You’ll find that at least an entire afternoon is necessary to do this step right, so be sure to schedule enough time. You might also want to consider using a paint stripper pad when scrubbing the surface to equalize it. These pads don’t damage fiberglass but they will dull the surface if you scrub too hard. Once the Ghost Away is applied, it may make your RV look even yellower than before, but be patient; in a few minutes you’ll notice like we did that the surface is bright white once more.
Step 4: The Finishing Touches
In the final step of getting rid of vinyl stickers on your rig, you’ll need to wash and rinse the Ghost Away from your RV. Don’t let it sit too long, especially if it’s hot, or you will notice a chalky, white residue forming. Find a good quality RV wash and wax detergent, which will thoroughly clean the surface. A separate waxing is usually needed even though many RV washes claim to be an “all-in-one” wash and wax product, so be prepared to spend a few more hours doing a final waxing on your rig.
Once the stickers are gone and your RV is looking brand new again, you’ll be so glad you spent a couple of days to get rid of the ghosting problem. Finally, when you take it to the dealer or showcase it to a potential private party buyer, they will be happy that you did the hard work for them and just might thank you with a more generous purchase offer.

I was told about the Protect All product and gave it a try. Definitely an excellent product. In my case it made my moderately rusty Gelcoat look almost new and definitely the best I’ve had since. Fiberglass panels are a different story. After doing it twice it still didn’t look like Gelcoat. I ended up using a different product for these and they came out fine. I will continue to use this rust remover on every inch except the end caps and try to figure out why the discrepancy exists.
Thank you for your article. It will definitely help me a lot.