Are you addicted to bumper stickers? The funny thing about bumper stickers is, they usually end up in other places besides your RV bumper! In the world of RVing and passenger cars, there are those who enjoy slapping on decals, and those who think they look sloppy. For people like me who love to proudly display road trip milestones and destinations, be warned that there is a price to pay for all of those adhesive-backed memories: it’s a process called “ghosting.”
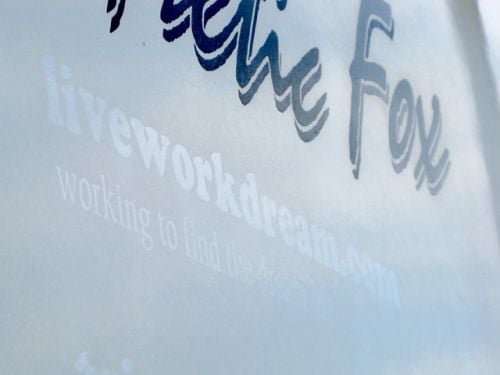
We discovered the effects of “ghosting” when it was time to upgrade our rig to a larger unit. Since we wanted to get as much trade-in value as possible, we had to remove all of our bumper stickers and vinyl lettering that promoted our websites. But peeling off those memories wasn’t nearly as painful as the end result.
When you lay down a bumper sticker on a fiberglass or metal surface, the colored area around the bumper stickers will continue to oxidize and dull, while the layer underneath the sticker will remain unchanged. As the sun beats down on your rig over the years, regular waxing and polishing can help minimize the changes, but doing so still won’t halt the ghosting process.
If you remove the stickers, you’ll see a shadow outline. This is known as the “ghosting” effect, and in addition to looking unattractive, it can seriously detract from your RV’s resale value. In order to get the most money back, you’ll need to equalize the discoloration on your rig. Here is how we did it:
Step 1: Remove the Stickers with Heat
With a simple hair dryer and the edge of a hard plastic squeegee, you can peel vinyl stickers from the rig. Slowly lift a corner, aim the hair dryer a few inches from the surface, and away it goes! An easier and faster way to remove vinyl stickers is to buy a “vinyl eraser,” which is a rubber wheel you can mount to a drill for really fast bumper sticker removal.
Step 2: Wipe Off the Adhesive
Once all the stickers we off, we applied a product called “Rapid Remover.” This cleaned off the sticky residue bumper stickers leave behind. It took a little elbow grease but in less than a couple of minutes it did the job.
Step 3: Eliminate Oxidation
Next, we washed and scrubbed our rig with a product called “Ghost Away Oxidation Remover.” This non-toxic product removes oxidation from the exposed areas around the vinyl stickers and equalizes the surface coloring. The product takes a little more elbow grease then advertised; in order to do the job, we had to gently scrub with a paint stripper pad, which didn’t damage the fiberglass but did dull the surface. Additionally, at first glance the Ghost Away product appears to cause yellowing on the fiberglass walls, but in a few minutes the yellowing disappeared and our RV exterior was white again.
Step 4: Wash and Wax
The final step to clean off our rig from bumper sticker shadowing was to completely wash and rinse the Ghost Away product; it you let it sit too long on the RV, it leaves a pasty white residue. We used a RV wash and wax detergent, which cleaned the surface well but didn’t polish enough to our liking. A separate waxing was definitely necessary.
Overall it took about two days of non-stop work for us to eliminate signs of bumper stickers and lettering, but the effort was worth it. Our 2007 rig looked brand new and the dealer was happy, too!

Leave a Reply