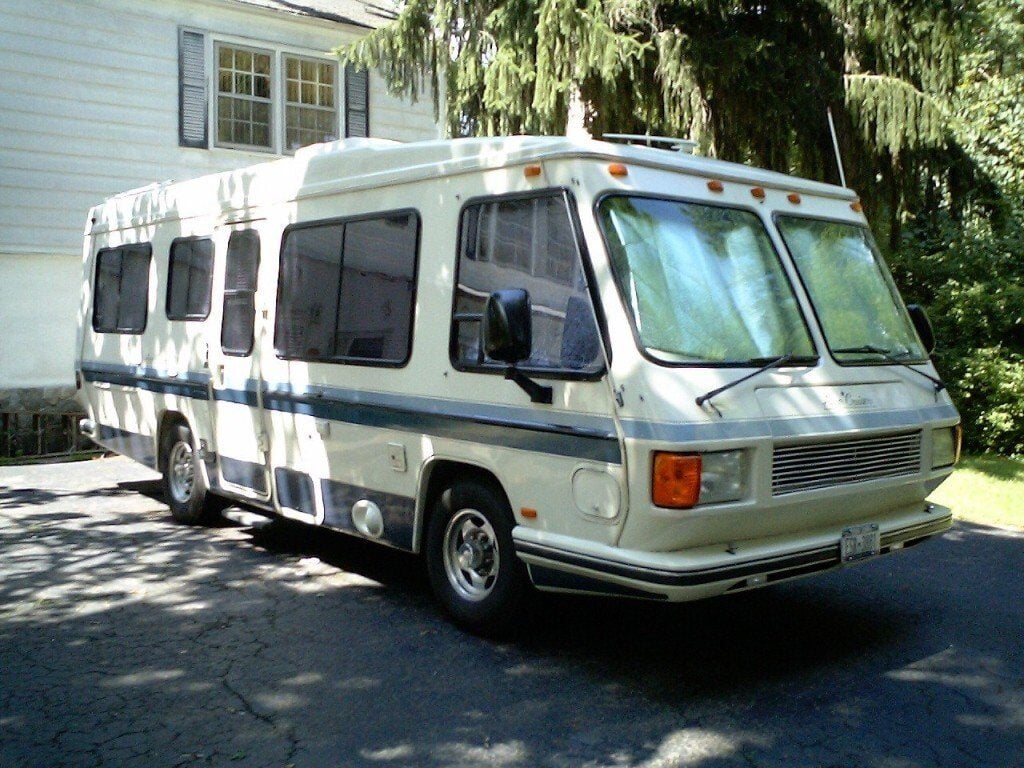
How To Find And Prevent Leaks In Your RV
Caulking and sealing are not exciting tasks for most of us. However, the old adage that an “ounce of prevention brings a pound of relief” rings true.
Typically there are three types of sealing technologies that prevent leaks in your RV for windows, doors, hatches, and seams. A combination of sealant quality and owner maintenance is the key to keeping things shipshape and leak-free.
1. Compression gaskets
You may be familiar with compression gaskets found on automotive engine valve covers, which are rubber or cork gaskets between the valve cover and cylinder head and are compressed by the tightening of the valve cover bolts.
The resiliency of the gasket creates a seal. The same principle is true for compression gaskets on your RV body. They are typically used to prevent leaks in your RV by sealing surface-mounted devices such as exterior lights and electrical outlets.
But, compression gaskets can potentially fail for a variety of reasons. If the bolts or screws come loose, the clamping force will be lost. Also, the gasket can dry out and will no longer remain resilient.
Further, the flange on a thin plastic light fixture requires many fasteners spaced close together to generate an even clamping force. If there are too few fasteners, the gasket ends up compressed near the screwhead.
Also, the gasket between the screws that are far apart may not have sufficient compression to resist heavy water loads. Another concern is the width of the sealing flange. It can reduce an effective sealing surface area, making gasket alignment critical.
How to find a damaged compression gasket
Compression gaskets in your coach are commonly visible between the siding and base of the device. Obvious problems may be apparent if the gasket looks displaced, cracked, or is missing altogether. Also, lightly apply a rocking pressure to the device.
If the flange easily moves and there’s a gap, it may leak while driving on a bumpy or twisting road during a rainstorm.
2. Formed-in-place seal
Using the valve cover analogy, this type of seal has the potential to outperform compression gaskets and is becoming more prevalent in the RV industry. It’s commonly used for windows, vents, and hatches.
One major benefit is the sealant conforms to different shapes much better than a compression gasket. Formed-in-place seals are typically captured inside the joint and may not be visible.
Sometimes you can see where the excess sealant has been squeezed out between the parts as a caulk-like extrusion. The type of sealant uses urethane and silicone materials, which simply convert the seal from a liquid to a solid, forming a rubber gasket.
How to find a damaged formed-in place seal
Look for gaps between the siding and window flanges. Generally, you should not be able to slip a piece of paper or a thin feeler gauge between the flange and the siding.
A firm but resilient material should be evident inside any gaps. Other faults of this sealant can pertain to the fact that it wasn’t applied properly or it’s not compatible with environmental exposure.
3. Filler
Filler seals are typically referred to as “butyl tape.” It’s often used to seal metal trim strips found on siding seams, wall-to-roof joints, and windows.
Butyl tape comes in rolls with various dimensions. Although it doesn’t have a “sticky side,” it does have tackiness on both surfaces.
Additionally, the tape acts as a filler and is similar to a formed-in-place gasket as excess sealant squeezes out and the remainder fills the voids.
Unlike the sealants used in formed-in-place gaskets, butyl tape has little adhesive qualities. Fastener spacing requirements are similar to compression gaskets.
It’s also more important since butyl tape is not resilient and does not “push back” when compressed.
How to find a damaged filler seal
Butyl tape can provide a long-lasting seal. However, a low-quality butyl product will shrink, dry, and crack much quicker than a high-quality product.
Many times you can see where the excess butyl tape has been squeezed from the joint. A rule of thumb is if the butyl tape (that you can see) appears to be cracking, or if it’s dry, brittle, and off-color, the tape inside the joint may be in similar condition.
More tips on sealants and finding leaks
You can ignore a strange leak at your own peril, but remember most manufacturer warranties require the owner to “inspect and re-seal” the RV at least twice a year.
It sounds easy, however, “re-sealing” to prevent leaks in your RV requires removal of windows, doors, trims, etc. Keeping moisture at bay can be done by a watchful eye on your rig.
Typically, “re-sealing” is done by running a bead of silicone over a window frame or around a hatch. While this may provide some reassurance and peace of mind, it’s not a long-term solution.
Here are some other pointers to address leaky issues:
- Ask a professional to do a blower door test that pressurizes the RV to identify external leaks.
- Do a survey and catalog all locations having some form of sealant that is in place and carefully inspect all the seals and record the condition.
- Identify the type of seal and sealant used.
- Further, to prevent leaks in your RV, prepare a plan detailing the steps required to maintain, restore, or replace the seal.
If your RV is indoors for the winter, inspecting for leaks is a good spring and fall maintenance task. When your RV is usually outdoors and under the elements, inspections should be done more frequently (at least twice a year as per many manufacturers’ warranties) to prevent problems before they arise.
For more tips, check out this video from Grateful Glamper:
Track your RV maintenance
Keep track of all your RV maintenance with an online tool such as RV LIFE Maintenance. Not only can you keep all your maintenance records and documents in one place, you’ll receive timely reminders via email when maintenance is due and potentially avoid a costly repair or serious accident.

Very insightful. I have had issues with this on my RV before. Thanks for the tips!
You bring in your rig to one of the Camping RV repair outlets for pressure leak testing. If possible watch the tech’s procedures. Some will only resolve leaks from the customers input to cut corners skip other areas that over time are known to fail & leak GETS YOU BACK IN THE SHOP. Ask plenty of questions to the tech doing the work. Did he or she check the front/back cap marker lights, sides meet the roof, window’s & door slide seals? If not ask the tech to recheck those areas or you be back for another expensive, and frustrating. stay in the customer waiting room.These places charge shop time and supplies to resolve failed area’s and are in NO hurry to get you out the door $$. Thus longer its in the bay the higher the total bill will be. For your own peace of mind watch the tech’s work if possible, If buying new or used RV have it checked for leaks before it eaves the lot. Leave knowing your rig is leak proof and satisfied with the results Be sure check their work next heavy rain storm, Wet slid-out carpets, wet walls, stains under neath a over head sleeper and under mattress equates expensive repairs down the road if not resoled –NOTE:– Watch You Tube Videos on RV Pressure Testing for leaks to know what to expect –Happy Motoring !
Thanks for the detailed response!
Many years ago I worked as an RV service tech for a large manufacturier doing warranty repairs. Got some head scratchers over the years. One thing that I am sure of is that all RV’S leak somewhere. Some leaks are so small that one may never discover them until the unit has to be disassembled due to an accident or because the siding delaminated. That is why our RV is stored under a shelter when not being used. Even well maintained RV’S benefit from inside storage. Ours happens to be a garage, however a metal RV port will serve the same purpose.
Good information and resource. However, I need some help. I have a 2014 Arctic Fox 990 truck camper with 1 slide out. While recently parked in a storage lot, someone attempted to break into my camper by trying to pry open the main entry/exit door. They didn’t gain entry but they sure tore up the door which now needs be replaced. Does anyone out there know where I might purchase a replacement door? If you can help me, please reply to my email (nucleeur@aol.com). Thank You,
Lee in Washington State.
“Ask a professional to do a blower door test that pressurizes the RV to identify external leaks.” Now that is a good idea of which I have never heard. I wonder how many dealers/repair shops have this ability?
I have a 2021 Fifth Wheel, it has rubber seals around the outside of the windows 2ea. have the rubber pulling away at the inside corners. I was told to pull it all off and put it back on paying special attention to have plenty of rubber seals to fit in the corners. I have tried to push it back in butt it will not stay, it just pulls back out at that inside corner. Please give me your advice on how do I fix it. It is not leaking but am worried about it all coming out!!!
We recently bought a 2020 Coachmen Mirada from our Camping World in Dec 2023 and found out less than a month it had a leak over the drivers side. Took it back to them, they couldn’t find the leak, charged us 111.00. Came up a bad storm, my husband put a red dot where the water was coming in, took it back to them, service manager said the tec repaired it, didn’t charge. Loo and behold, rained again, still leaking in the same place. Hubby contacted the service manager to no avail so he decided to remove driver’s side window and reseal it himself. Found out CW tecs over tightened screws around the window and bent the frame. Don’t know what type of training the people receive there. Now, we’re just waiting for rain to see if the leak is fixed!