The Best RV Cooks Know These RV Oven Tips
Cooking in your RV oven shouldn’t have to be a chore. For those who live in their RV full-time, you can make most of the things you made in your sticks-and-bricks oven. It might just take a little more thought. Try some of these simple tips and you will be an expert in no time.
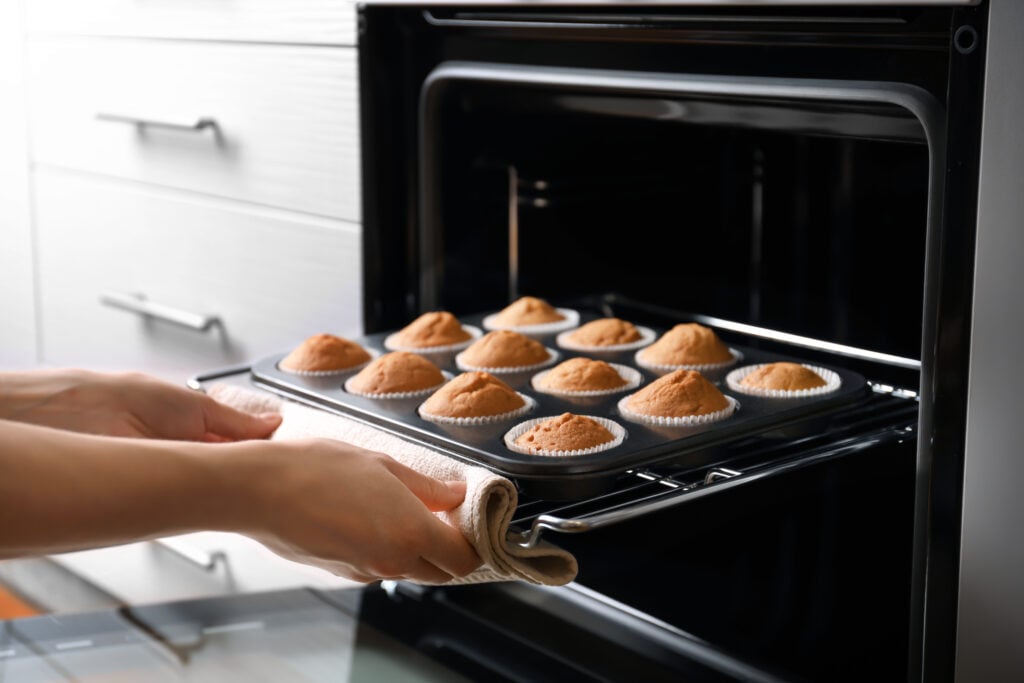
1. Pan size
This was a concern for me as I downsized for full-time RV living. What did I need to keep or purchase that would fit in the RV oven?
Unless you have a residential oven in your rig, your propane RV oven should fit a 10 X 15 inch cookie sheet or a 9 X 13 baking dish with plenty of room on the sides. Of course, check your size so you know for sure and make sure there is some space around the pan on each side.

My well worn 10 X 15 cookie sheet.
2. Use a baking stone
I learned about this recently and haven’t actually tried it, but it makes sense. A baking/pizza stone can help you from burning your food on the bottom and, at the same time, keep your food from staying raw inside.
It should sit on the metal plate that is over the heating element. Make sure you don’t block the ventilation holes. Unglazed tiles from the hardware store can also work. The stone, or tiles, act as an insulator against the direct flame and distributes the heat throughout the oven.

A pizza stone is a great way to evenly distribute heat in your RV oven.
3. Use an oven-safe thermometer
Whatever the knob says on your oven is probably not accurate. The purchase of an oven-safe thermometer will give you this information and help a lot with your cooking times.
4. Preheat your oven first
Once you know the true temperature of your RV oven, you will find it easier to know when you are up to your heating temperature. Compare this to what your knob indicates and you can coordinate that with your dial. If your thermometer says it’s at 400 and your dial says 350, you can adjust your recipe accordingly. Again, this will help with cooking times and avoid burned food.
“A reminder for some RV ovens is that you may have a separate ‘light position’ for your pilot light, requiring that you push in or turn the spring- loaded knob and hold it there for 20 seconds while you light the pilot and let the thermocouple come up to temp so that the gas flow will stay on and the flame stay lit. Also if your propane tanks have been off for awhile while your RV was in storage or when both tanks were disconnected to have them filled, you don’t want the pilot light to be the first thing you try to light. Light a stove top burner first to purge the air from the gas line, then light your pilot lights.” Rick Barkley, video reviewer
5. Adjust the metal rack
The rack in my oven has four adjustments, but to be honest, the two higher ones seem to be pretty useless. Depending on your RV oven, you can make this adjustment and see what works for you. If you want less heat on the bottom, use the upper adjustment, etc.

6. Rotate the food
Set your timer and rotate your pan halfway through cooking. This will ensure that your food will be cooked evenly.
7. Take outdoor temperatures into consideration
Like most RV ovens, it’s probably located on an outer wall and will be affected by the outside temperature. You might need to make adjustments for cooking time if you are experiencing a particularly cold or hot day.

You can make a variety of yummy treats in your RV oven.
8. Consider the kind of bakeware you use
Glass dishes work well and so do metal pans. Be sure to try a few different things to see what works for you and your oven.
9. Level your RV
Finally, make sure your RV is level. You don’t want your cake to have a slope or your casserole to escape the pan on the low side.
For more tips on cooking in your RV oven, check out this video from Long Long Honeymoon:
- You Don’t Need An Oven To Make These 10 No-Bake Desserts
- 6 Tips For Successful Baking In Your Oven
- 3 Big Myths About RV Microwave Convection Ovens

Kristi,
Thanks for pointing out that you can use the very bottom of the oven for broiling. I never thought to put food down there. My open-faced toasted cheese sandwiches will be done a lot quicker I’m sure.
Thanks for this article Terri! My wife and I are recent full-timers, and are struggling with the differences in our RV vs our sticks and bricks appliances. I’ve been pondering the stone method for our pizzas (bottom always done before the top), and will certainly be getting one to try out! Thanks again! Happy travels and God bless!
My previous RV didn’t have an oven but my new leprechaun has one. I burnt a pizza or two when I learned to purchase a pizza stone that distributes temperture more evenly. It’s been nice to have an oven.
We have learned several years ago to place a cooking stone on the rack of the RV oven in order to evenly distribute the heat across the pan instead of one straight line the heat down the middle.
My Pleasure-Way RV did not come with an oven which had on our previous RV. We missed it as like baking etc. We found a portable oven with two propane stove with two burners on top. We just love it. Available at Pro Bass. Shop much cheaper than Amazon