After being cooped up through a long, cold winter, spring blossoms and warmer weather energizes RVers. Our thoughts inevitably turn toward getting our RVs ready for takeoff.
Before hitting the road for that first outing, one essential task must be completed: Dewinterizing your RV. It’s necessary maintenance for RVs that have set idle over the winter months. It’s a normal aspect of owning an RV in regions of the country where temperatures dip below freezing.
Winterizing an RV water system boils down to draining water from the plumbing, water heater and holding tanks. Next, you pour non-toxic RV anti-freeze into sinks, drains, and toilet to protect susceptible plastic components. These include P-traps and low points in the lines, which can be damaged by standing water freezing during the winter.
Dewinterizing an RV’s plumbing is simply reversing everything in the winterizing process so the RV is ready for camping. We should mention this process focuses solely on dewinterizing an RV’s plumbing system. The general maintenance, checking systems, cleaning, etc. are a story for another time.
The Basics Of Dewinterizing An RV’s Plumbing
“There are basically two tasks in dewinterizing any RV,“ says master RV technician Tony Salazar of Carrier RV Service in Eugene, Oregon. “One is to refill the water system and bleed it of air, while flushing it to remove all traces of anti-freeze. The other is thoroughly checking the entire plumbing system (and water heater) to make sure there are no leaks, cracked filters, or other damage so the RV is mechanically ready for camping.”
Salazar says a first-time RV DIYer should be able to accomplish dewinterizing an RV in less than an hour.
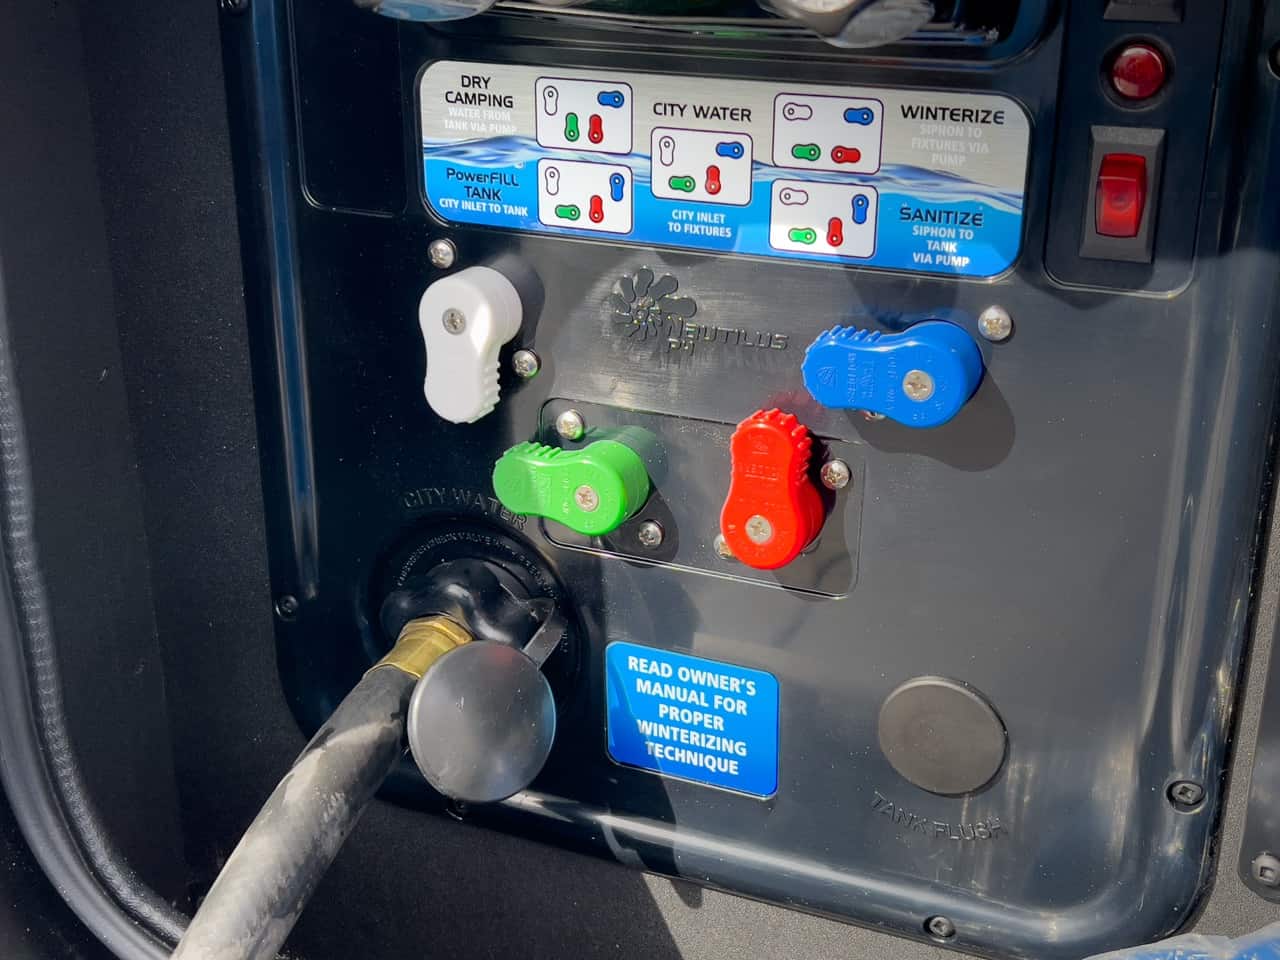
Salazar approaches the task by closing all the low-point drain valves. He makes sure the drain plug is reinstalled in the water heater, the heater is off, and the bypass valve closed. Next, he removes the aerator screens from faucets and shower heads and closes all faucets.
This is also the time to replace the trailer or coach’s water purification filter(s). These filters are removed during the winterization process, and new are ones installed during dewinterizing.
Bleed The Water System
The next step to dewinterizing an RV is to recharge the RV’s water system. This is accomplished by hooking up to a water supply, turning on the RV’s water pump, and then turning on the water heater.
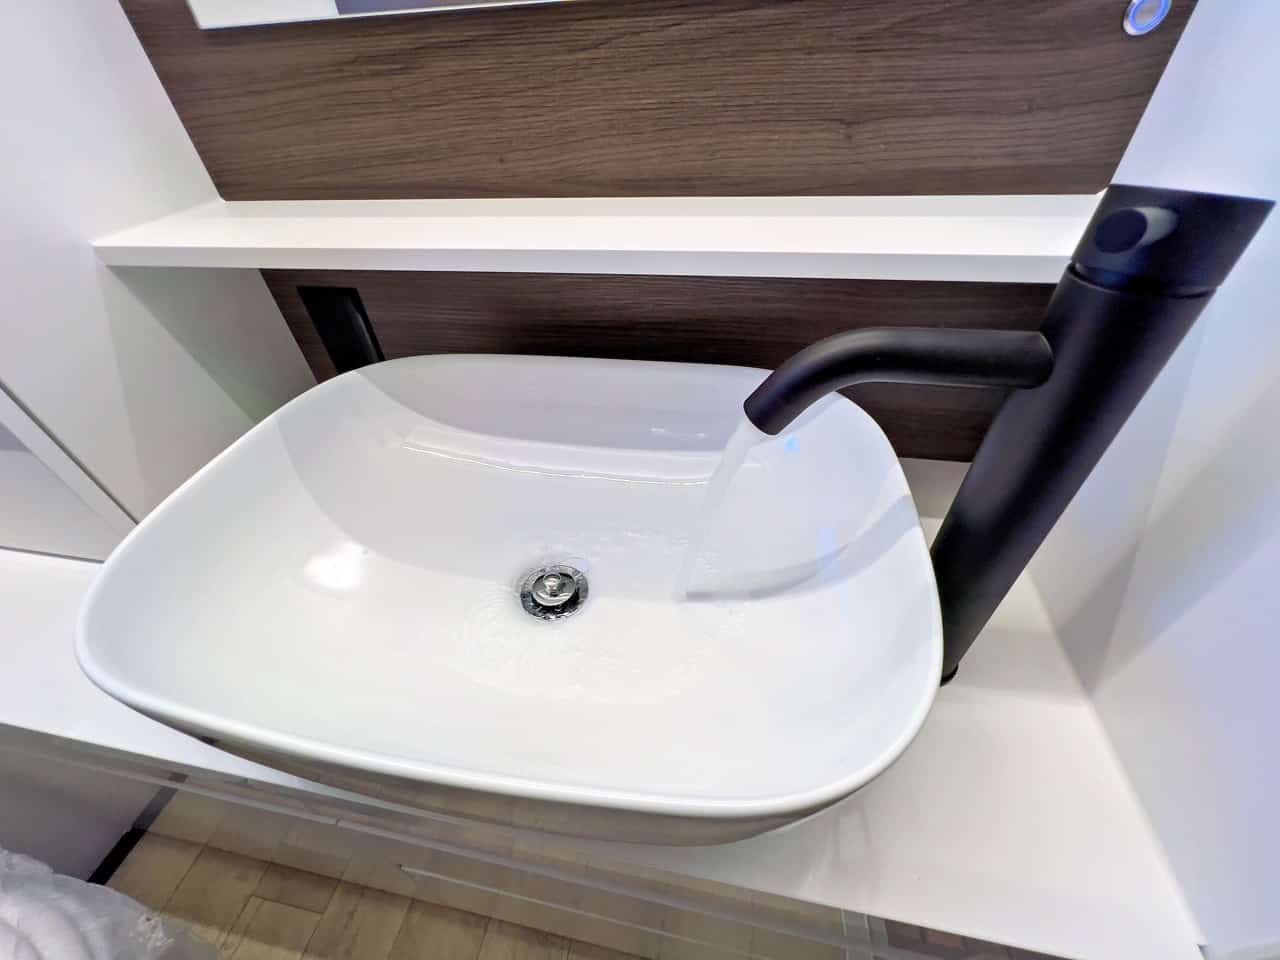
Next, slowly open each faucet, cold and hot, one at a time, for a couple minutes to bleed out any air trapped in the lines. Start in the galley and then go to the bathroom(s). Let the water flow through the entire system until there’s no air coming out. Do the same with any exterior water fixtures.
Make sure the dump valve on the blackwater tank is closed, then flush the toilet multiple times to push the antifreeze out of the P-trap. Run the shower for several minutes for the same reason.
Note: This is also a good time to open the graywater tank valve open and drain the tank into the sewer. The dewinterizing process may fill it quickly as the RV’s water system is charged and flushed.
Check For Water Leaks
During this filling/flushing part of dewinterizing an RV it’s important to carefully inspect every filter and shutoff valve for leaks. This includes those at the toilet, under the sinks, at the water pump, the water filter and water heater. Don’t forget any that are located under the RV.
“I’ve had numerous customers that do the winterization themselves who miss something, and then that item becomes an issue during the dewinterizing process,” says Salazar.
“For example, they forget to drain the water filter and empty the little pre-filter feeding into the water pump. When the temperature dips below freezing, the water in those filters turns into a block of ice and cracks the filter.”
Dewinterizing an RV plumbing system is one of the simpler maintenance tasks of being an RV owner. All it requires to do properly is to pay attention. That way, a water leak won’t put a damper on your spring outings.

DO NOT turn on your water heater, unless you are 100% sure that it is full of water. Turning on the heating element without water in the water heater, will burn out your 110v heating element in less that a millisecond.
I have found the easiest way to Dewinterizing An RV’s Plumbing is not to put antifreeze in the water lines.
I live near Lake Tahoe and have never had a problem.
I blow my water lines and hot water heater out with air and only put a cup or two of antifreeze in each P-traps.
This makes Dewinterizing An RV’s Plumbing so much easier.
To Dewinterizing An RV’s Plumbing in my RV all I have to do is hook up the RV to a water Faucet, open and fill the water tank.
Run the water threw each RV faucets for a short time and I’m ready to go RVing.
I use compressed air to blow out all P-traps so I don’t have to pour RV antifreeze in them. It’s much cheaper than RV antifreeze, and RV antifreeze tends to evaporate over the winter. I leave my low-point drain valves open and stuff some paper towel in them to keep bugs out. If any residual water remains and settles to the low-points, it will drip out.
I would like share a way to keep Dewinterizing An RV’s Plumbing easy.
If you blowout the H20 lines and hot H20 Heater it will reduce the cost and time of using so much Antifreeze.
This method would only use 1-2 cups in each P-trap.
And also you will not have to flush antifreeze out of the H20 Lines and not to worry about contamination of antifreeze .
Hope this helps.
Happy trails
Don’t understand the need to “flush the toilet several times to clear antifreeze from the Ptrap”. Why this is going to happen the first few times the head is used, any antifreeze in the trap or head supply lines is never going to come in contact with humans.
Why do you offer the comment section if you do Not post any comments?
The fresh water tank and plumbing lines should be sanitized after de-winterizing. Isolate/bypass water filters before proceeding. Fill the fresh water tank and add an appropriate amount of liquid chlorine per rv manufacturer instructions. Run sufficient water through each of the lines until the slight chlorine odor is noticed. Let the water system rest for 1-2 hours. Drain the fresh water tank, and fill with sufficient clean (perhaps using a hose attached water purification filter) water so that all the lines can again be flushed. My manufacturer’s instructions state any remaining chlorine residue should be minimal and not harmful for consumption, obviously diluted as more fresh water is added to the fresh water tank.
I didn’t think there were any p-trap on a Rv toilet.
Our doesn’t have one, it’s the straight shot down into the black tank
If you are a member of the “just blow it out” club, you might want to suck a little bit of the RV antifreeze into your pump to protect it and the little re-filter. These aren’t in the “city water” loop so you’re relying on the gravity drain to empty them.