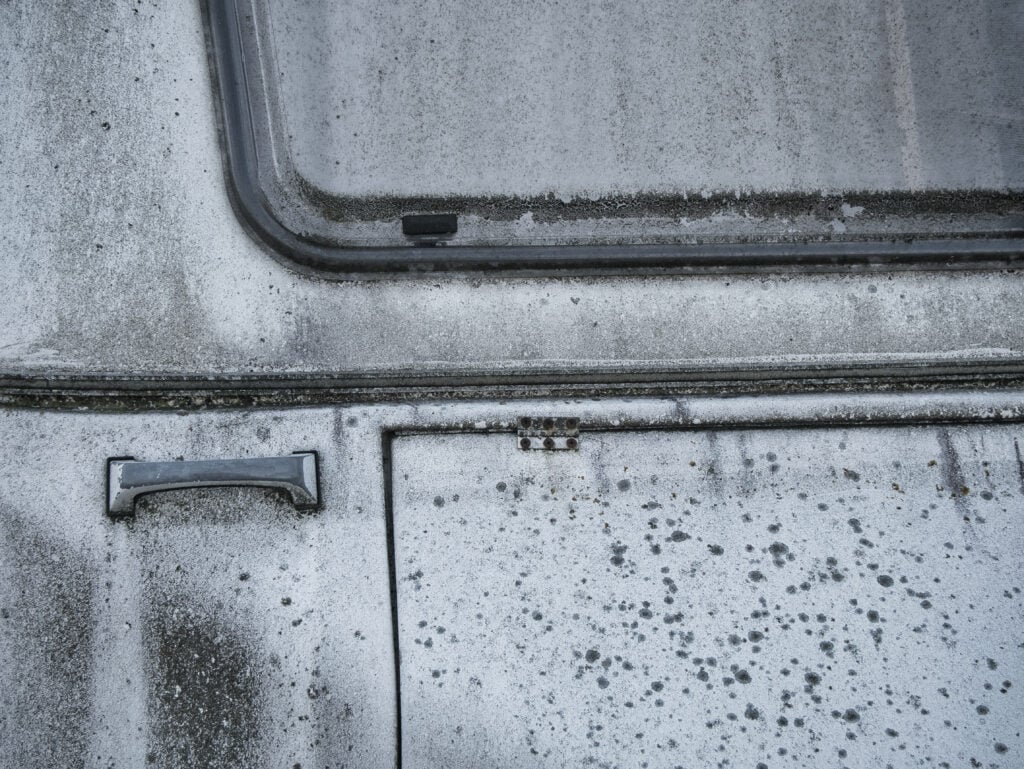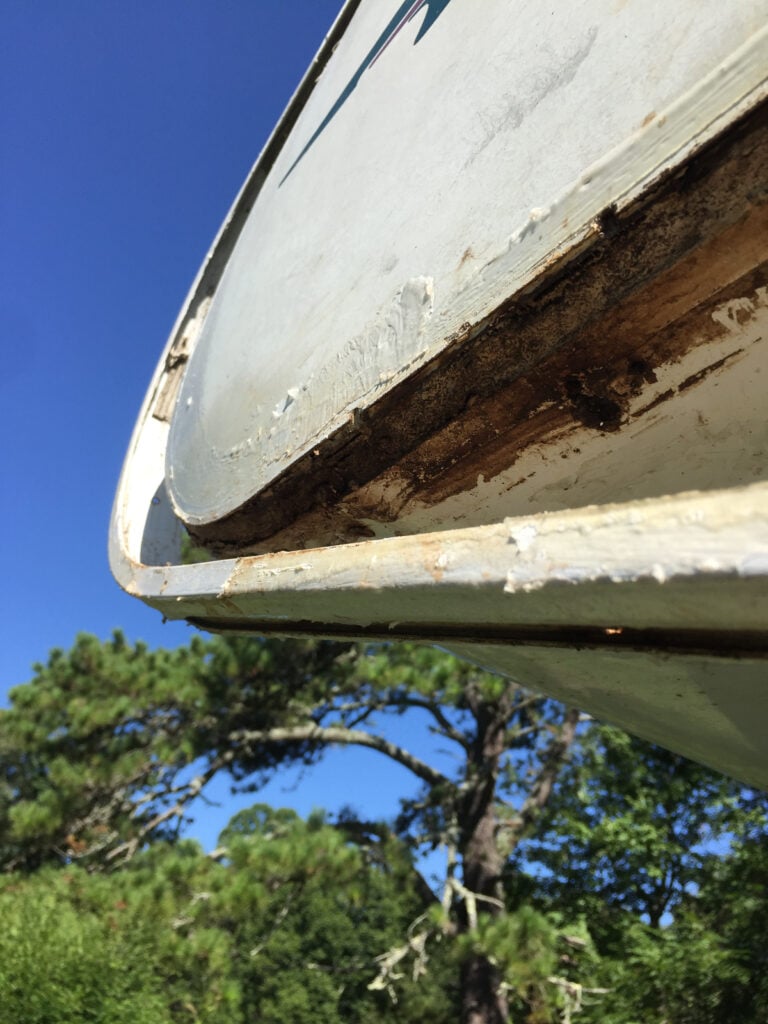
- Black mold is a tell-tale sign of RV water damage. Photo via Shutterstock. Cover photo: iRV2 Forums
How Keep Moisture from Ruining Your RV
RV water damage is an insidious problem that can go undetected for long periods of time while doing extensive damage. Not only can it damage electronics and threaten the integrity of your RV, but it can also lead to the growth of toxic mold and mildew that can be damaging to your health.
You should check your rig for RV water damage regularly to help prevent any damage. If you’re looking to buy a used (or even a new) RV, inspecting for RV water damage is an essential step to take before making a purchase.
There are many steps you can take to help detect and prevent water damage in your RV. If you do find water damage, you have a few options for how to repair it. First, let’s look at some of the common signs of RV leaks and water damage.
How do you inspect for RV water damage?
Whether you’re looking at a potential RV purchase or doing a regular check on an RV you’ve owned for years, water damage inspection is not something you want to skip out on. Regular inspections are a critical part of RV maintenance.
In fact, you should be inspecting your camper for water damage on a regular schedule. One recommendation is to do a thorough check before and after the camping season or any extended trips. Plus, do smaller checks on about a weekly basis. That way, you can avoid any surprises in the middle of a trip.
There are a few tell-tale signs of water damage to look for. These include:
- Soft spots in the roof, walls, or flooring
- Staining and discoloration on ceilings and walls
- Mold growth
- Rusty outer screws
- Cracked or peeling caulk
- Damp or mildew smells
Finding any of these indicates that you probably have some leaks that are causing RV water damage. Even if you don’t see any of the obvious signs, a closer inspection may still reveal leaks and damage.
In the video below, Mark Polk from RV 101 gives a great checklist for doing a walk-through RV water damage inspection.
Where to look for signs of water damage
Any place where the roof or wall has been cut to make an opening is a potential source of water entry. This means places like:
- Windows
- Doors
- Slide-outs
- Air conditioning, TV antennas, and vents on your RV roof
- The inside and outside seams of your roof, wall, and ceilings
You’ll want to check all the seams and openings of your RV for water damage, inside and out. If the sealants on the seams are cracked or separated, water can penetrate them. You’ll also want to find where external items like your water heater or city water inlet are located, and then check the same location on the inside of your RV for any signs of damage.
You should also make sure to check inside overhead cabinets where the roof meets the wall. If you find any discoloration, soft spots, or wrinkled wallpaper in any of these areas, that means you have a leak. If your RV has a bed area over the cab, you should remove the mattress and feel for soft spots or moisture.

Delamination
Another important thing to check for is delamination on the outside of your RV. This happens when water gets into the space between the outer fiberglass and the inner sidewall panel. If delamination occurs, you’ll be able to see and feel bubbles and ripples popping out of the fiberglass on the outside of the RV.
How do you repair water damage in an RV?
Your options for water damage repair will depend heavily on the nature of the damage. DIY repairs may be an option, especially if the damage is minor. For example, a leaky window can be fixed relatively easily with a few tools that you’ll probably already have lying around.
When doing DIY water damage repairs, the first step after locating the damaged area will be to clean it out and remove any damaged parts. You’ll then want to make sure you remove any mold that you find, and air the area out completely until it’s 100% dry. And after that, you’ll have to replace what was damaged.
Severe damage will require a fair amount of skill to fix, however. If your wall is damaged, then water damage wall repair will be much more complicated than fixing a window and will require more time and skill. Still, if you have the know-how and want an RV wall repair do-it-yourself option, it can be done.
You’ll need a wide array of tools to fix a damaged wall, as well as a fair bit of knowledge. You’ll need to strip the walls bare, replace insulation, and cut and install new paneling. This can save you money, however, as repairs for water damage can get quite expensive.
If you have water damage in your RV walls or roof, professional repair could cost thousands of dollars. Because of this, it can be a good idea to have a comprehensive RV insurance policy that covers water damage. All policies are different, but if your RV insurance has the right coverage, making an RV water damage insurance claim could save you a lot of money.
Stay alert for signs of water damage
Being vigilant for water damage can save you a lot of headaches in the long run. A water-damaged RV can cause damaged electronics and health hazards due to mold, among other problems. Locating RV water damage early and fixing it quickly is essential for protecting your rig and any people and pets that live in it.
Keeping an eye out for discoloration, soft spots, and ripples in wallpaper will tell you when RV water damage has occurred. These are most often found in the seams of your RV, plus any place where an opening has been cut in the walls or ceilings, such as windows and doors.
If you find any signs of water damage, you’ll want to fix them or have them fixed as soon as you can. DIY repairs are possible, but if they’re beyond your abilities, a visit to a repair shop is going to be necessary. Because of this, it can be a good idea to have RV insurance with water damage coverage to help cover the costs of repairs.
So, don’t get caught surprised by water damage and let your next big trip be ruined. Inspect your rig regularly and fix things sooner rather than later.
Make sure you keep track of all your RV maintenance and repairs with an online tool such as RV LIFE Maintenance. Not only can you keep all of your documents in one place, but you’ll also receive timely reminders when maintenance is due to help you avoid costly repairs and potentially serious accidents.

Don’t just check the outer surface of screw for rust, pull a couple of them out of the lower corners, especially on metal siding, for signs of rust on the threads. Most screws will eventually rust on the head, but rust on the threads, especially screwed into wood frame RV’s. are a sign that damage could be expensive and time consuming to repair.
You can also have your rig get a pressurized air leak test by a certified company that has this type of service and equipment. That’s what I did.